
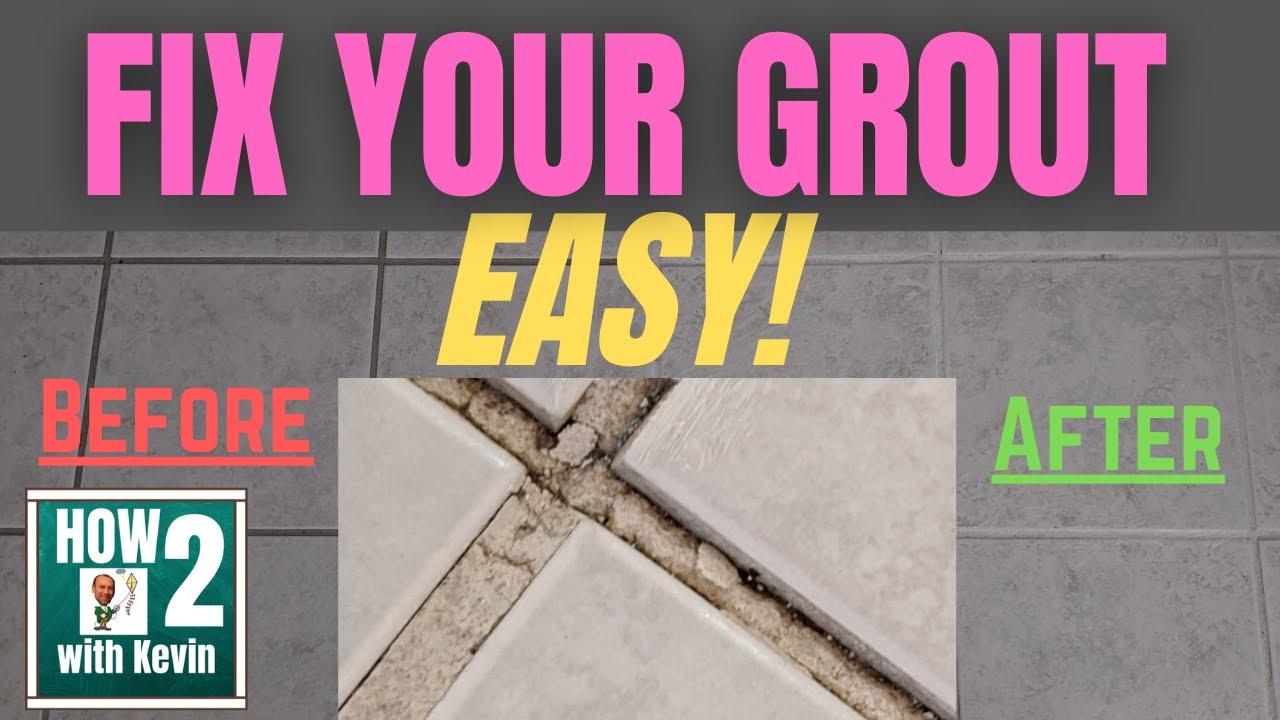
Grout Cleaning
About This Project
This project outlines the steps for cleaning grout in various surfaces like tile floors and walls, aiming to restore its original appearance and hygiene.
Tools & Materials
Bucket
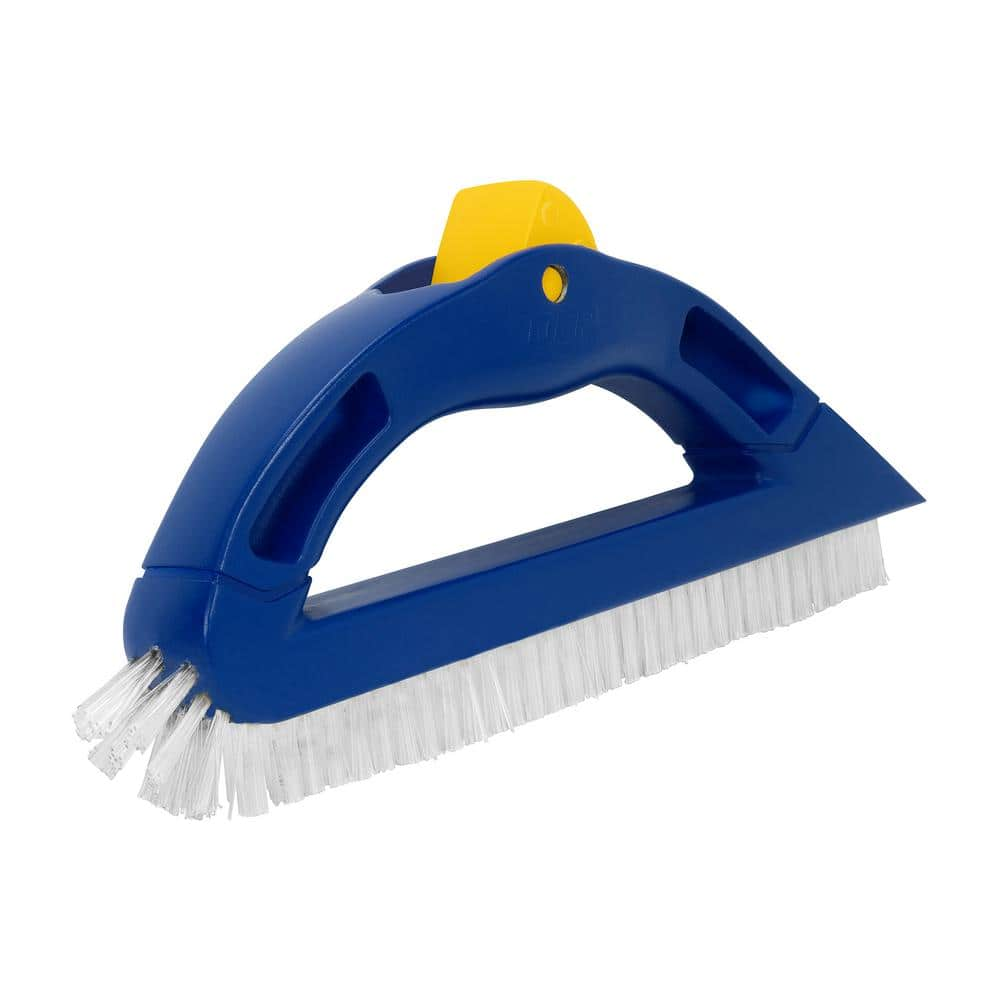
QEP Large Handle Scrub Brush 20839
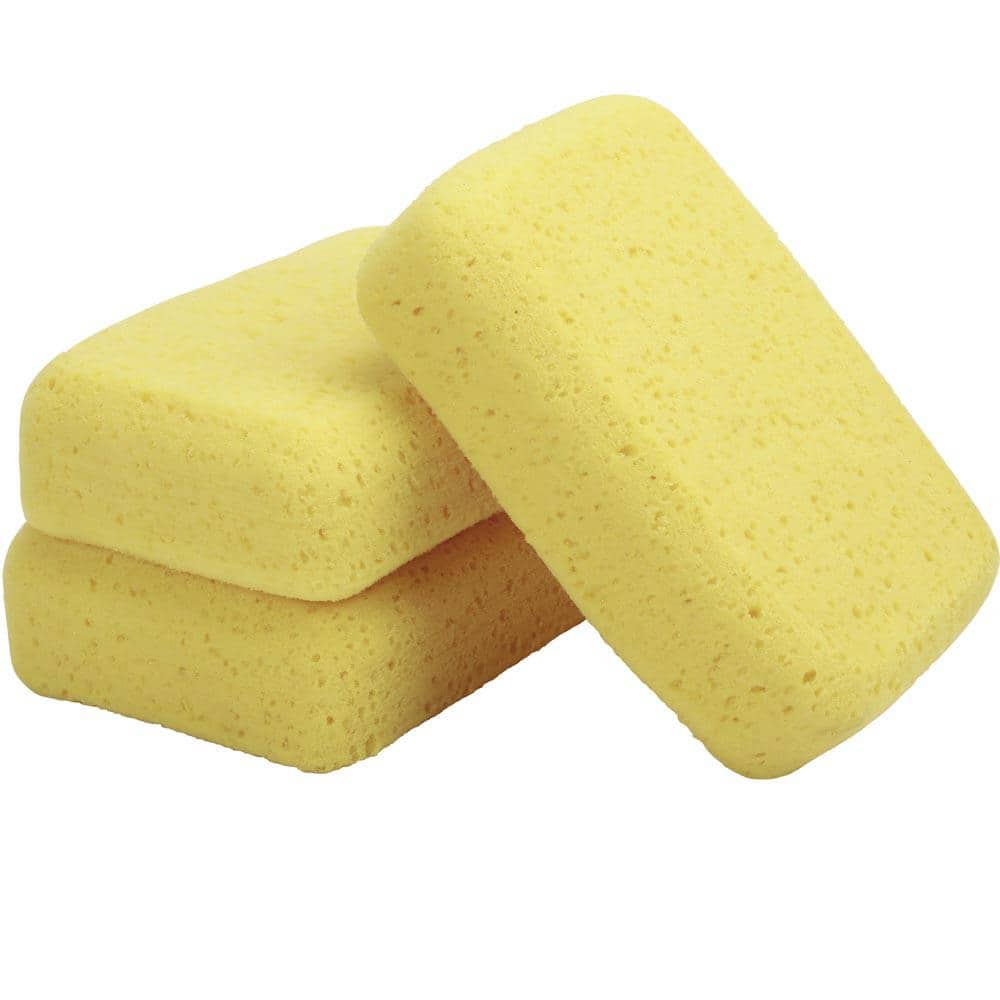
Anvil Extra Large 7.5 in. W Polyethylene All Purpose Sponges (3-Pack) 57483
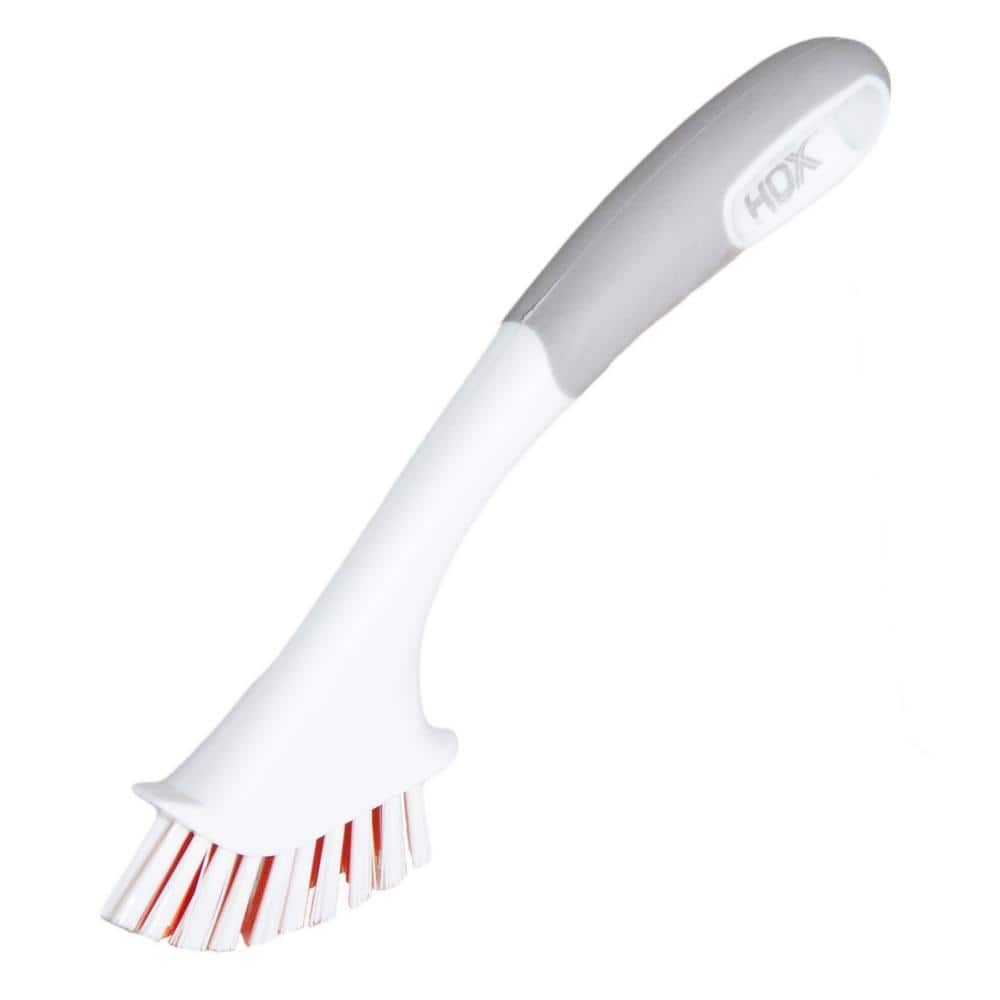
HDX 7.8 in. Tile and Grout Brush 1-Pack HDXGRTDTL
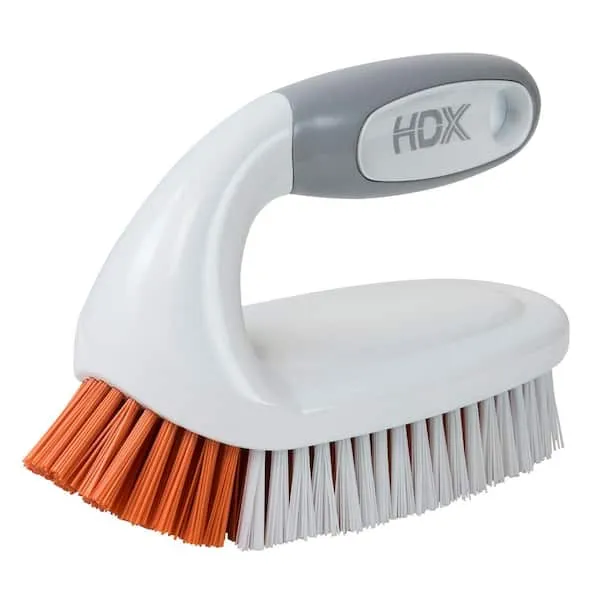
Scrub Brush
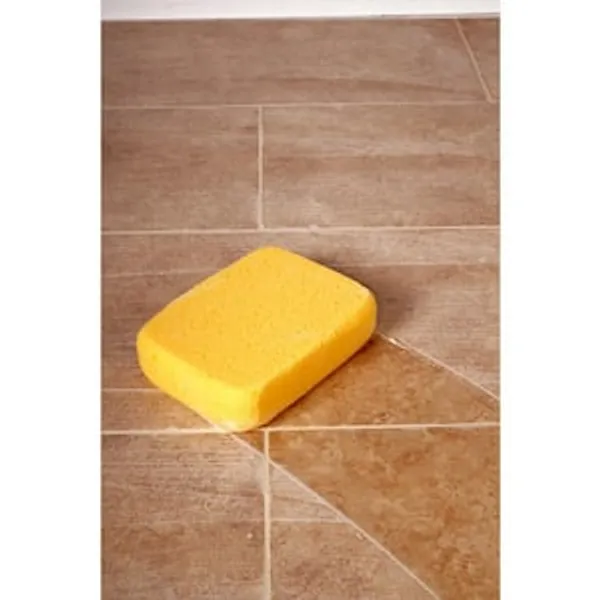
Sponge
Bucket
Ideal for carrying or storing liquids.
QEP Large Handle Scrub Brush 20839
QEP's Large Handle Scrub Brush is the professional installers' preferred tool to remove unwanted buildup from tiles and grout lines. It is designed with a built-in scraper to tackle tough dirt and grime,
Anvil Extra Large 7.5 in. W Polyethylene All Purpose Sponges (3-Pack) 57483
The 3 pack of Extra Large All Purpose Sponges are the perfect sponges for cleaning grout during tile installation. The sponge is designed with rounded corners to prevent digging out or marring grout joints.
HDX 7.8 in. Tile and Grout Brush 1-Pack HDXGRTDTL
The HDX Tile and Grout brush works on all types of tile and grout - floors, baths, countertops and backsplashes. The curved tip of the brush fibers cleans into crevices and corners without scratching and can be used to scrape stuck on messes. Extra strong and durable brush bristles are also treated with an antimicrobial additive to prevent the growth of odor-causing bacteria.
Scrub Brush
Tackles tough stains with stiff bristles.
Sponge
Absorbs and cleans effectively.
Steps

Prepare Cleaning Solution
5 minutesIn a bucket, mix approximately 1 gallon of warm water with 1-2 tablespoons of mild dish soap. Alternatively, if using a commercial grout cleaner, follow the manufacturer's dilution instructions. Ensure the solution is well combined.
Watch: Clean the Grout Lines


Rinse the Surface
15 minutesUsing a clean sponge or a mop with clean water, wipe down the tiled area. Rinse the sponge or mop frequently in a separate bucket of clean water to ensure effective removal of soap scum and grime. Repeat rinsing until all traces of the cleaning solution are gone.
Watch: Perform Initial Clean-up

Apply Grout Sealer (Optional)
30 minutesOnce the grout is completely dry, carefully apply a grout sealer using a small brush or applicator. Ensure even coverage over the grout lines. Wipe away any excess sealer that gets on the tile surface immediately according to the sealer manufacturer's instructions. Allow the sealer to cure as directed before exposing the area to moisture.
Watch: Apply Grout Sealer for ProtectionCommon Problems
After all that scrubbing, your grout still looks dingy or discolored in spots. It seems like the cleaner isn't working as expected.
Solution: For stubborn stains, try applying a specialized grout cleaner or a paste made from oxygen bleach and water. Let it sit for 10-15 minutes (or as directed on the product label) to allow it to work, then re-scrub with a stiff brush like the HDX 7.8 in. Tile and Grout Brush. For very deep stains, multiple applications might be needed. If the area is still dirty, consider whether your cleaner is appropriate for the type of stain (e.g., mildew vs. dirt).
Prevention: Before you start, identify heavily soiled areas and pre-treat them by letting the cleaner soak in for a bit longer. Make sure you're using a cleaner strong enough for the type of stains you have and that it's designed for grout. Test the cleaner on a small, hidden spot first.
You notice scratches on your tiles, the grout looks faded, or your shiny tiles now look dull and etched in areas after cleaning. This usually means the cleaning solution was too strong or you scrubbed too hard or with the wrong type of brush.
Solution: Immediately stop using the problematic cleaner or brush. Rinse the area thoroughly with clean water to neutralize any strong chemicals. Unfortunately, etching or deep scratches usually require professional repair or replacement of the damaged tile/grout. If it's just discoloration, try rinsing again with plain water and gently wiping.
Prevention: ALWAYS test any new cleaning solution or brush in a very small, hidden area first (like behind an appliance or in a corner). Wait a few minutes to see if there's any negative reaction. Read the cleaner's label carefully to ensure it's safe for your specific type of tile and grout. Use a softer brush (like the QEP Large Handle Scrub Brush) on more delicate tiles. Don't use abrasive pads on polished surfaces.
After cleaning and drying, your tiles look dull, hazy, or have noticeable streaks, even though the grout is clean. This happens when cleaning solution isn't fully rinsed off and dries on the surface.
Solution: Re-wet the affected area with clean, plain water. Using a fresh, clean sponge (Anvil All Purpose Sponges) or microfiber mop (Head Width 14 in. Microfiber Mop Head) and fresh, clean water in your bucket, thoroughly rinse the surface multiple times. Change your rinse water frequently. Immediately dry the area completely with a clean, dry towel (or the mop head) to prevent new streaks.
Prevention: Rinse small sections of your floor or wall at a time, making sure to remove all cleaner before it dries. Use plenty of clean rinse water, and change your water often as it gets dirty. Always dry the surface thoroughly after rinsing.
You experience itching, burning, redness on your skin or in your eyes, or you start coughing, sneezing, or have trouble breathing while using cleaning chemicals. This is a safety hazard!
Solution: If skin or eyes are affected, immediately flush the area with copious amounts of clean, running water for at least 15-20 minutes. If inhaled, move to an area with fresh air. If symptoms persist or are severe, seek medical attention immediately and bring the cleaning product's label with you.
Prevention: Always wear appropriate personal protective equipment (PPE). This includes chemical-resistant gloves (like dishwashing gloves) and eye protection (safety glasses or goggles) to protect your skin and eyes. Ensure the work area is well-ventilated by opening windows and doors, or using a fan (GENESIS 20 in. Box Fan) to circulate air. Consider wearing a basic dust mask to avoid inhaling fumes, especially if you are sensitive or using strong cleaners. Read and follow all safety warnings on cleaning product labels before you begin.
You accidentally drip or splash grout cleaner or sealer onto nearby wood trim, painted walls, or carpet, causing discoloration, damage, or bleaching.
Solution: Immediately blot any spills with a clean cloth. If it's a strong cleaner on a sensitive surface, quickly rinse with plain water if appropriate (e.g., on wood, quickly wipe then dry). For carpets, blot thoroughly with water and a clean towel, then let dry. Stains may be permanent depending on the material and the chemical; some damage cannot be fully reversed.
Prevention: Before you start, protect all adjacent surfaces that could be damaged. Use painter's tape and plastic sheeting to cover baseboards, door frames, or adjacent flooring. Apply the cleaning solution and sealer carefully, directing it only onto the grout lines using a small brush (1 in. Flat Chip Brush) rather than a wide spray, to minimize overspray. Don't over-saturate the grout lines.
After applying grout sealer (Fila Grout Proof), the grout or even the surrounding tile looks cloudy, sticky, or has an uneven, splotchy finish. This usually happens if you apply too much sealer, don't wipe off the excess from the tile, or apply it to grout that wasn't fully dry.
Solution: If the sealer is still wet, immediately wipe off any excess with a clean, dry cloth. If it has already dried to a haze, you might be able to remove it by scrubbing with a nylon brush and a small amount of mineral spirits or denatured alcohol (test in an inconspicuous area first, as these can affect some tiles). Re-applying a very thin coat of sealer over the hazy area and then quickly wiping it off can sometimes re-emulsify the old sealer and allow it to be removed. Consult the sealer product's instructions for specific removal advice.
Prevention: Ensure the grout is COMPLETELY dry before applying sealer – this often means waiting 24-48 hours after cleaning. Apply the sealer very sparingly and evenly using a small brush or foam applicator, focusing only on the grout lines. Read the product instructions carefully: most sealers require you to wipe off any excess from the tile surface within a few minutes to prevent hazing. Don't let it dry on the tile surface.
Frequently Asked Questions
What's the best type of brush for cleaning grout effectively without damaging it?
For most grout, a stiff-bristled nylon scrub brush or a specialized grout brush works best to remove grime without scratching the tile. Avoid metal brushes, which can damage both grout and tile surfaces over time. The provided QEP and HDX brushes are good examples of suitable tools.
What safety precautions should I take when cleaning grout, especially when using chemical cleaners?
Always ensure good ventilation by opening windows or using fans in the work area. Wear rubber gloves to protect your hands from cleaning solutions and consider eye protection to prevent splashes. Always read and follow the specific safety instructions on your chosen grout cleaner's label.
How long does this grout cleaning project typically take, and is it suitable for a complete beginner?
This project is rated as beginner difficulty and is estimated to take around 4 hours, though actual time can vary based on the area's size and how dirty the grout is. It involves straightforward steps like applying solution and scrubbing, making it very accessible for beginners. You can break larger areas into smaller, manageable sections.
What are common mistakes to avoid when cleaning grout, and how can I prevent damaging my tiles?
A common mistake is using overly aggressive or highly acidic cleaners that can etch or degrade grout and certain tile types, especially natural stone. Always test your cleaning solution in an inconspicuous area first. Avoid letting cleaners sit on the grout for much longer than recommended, as this can lead to discoloration or damage.
Can I use natural cleaners like vinegar or baking soda instead of commercial products for grout cleaning?
Yes, a paste made from baking soda and water, or a dilute solution of white vinegar (1:1 with water), can be effective for lighter grout stains. However, be cautious with vinegar on natural stone tiles (like marble or travertine), as its acidity can etch the surface. For tougher grime, commercial cleaners often provide better results.
Why is applying a grout sealer recommended after cleaning, and how often should it be done?
Applying a grout sealer creates a protective barrier that helps prevent future stains, mildew, and water penetration, making your grout easier to maintain. This step is optional but highly recommended to preserve your cleaning efforts. Grout should typically be re-sealed every 1-2 years, or more frequently in high-traffic or wet areas.