

How to Replace a Shower Valve Through a Tiled Wall
About This Project
A detailed guide on replacing a shower mixing valve located behind a tiled wall. This process involves shutting off the main water supply, removing the existing faucet trim, carefully cutting the tile to access the old valve, desoldering or cutting the old valve out, soldering or connecting a new valve, testing for leaks, and covering the new, larger opening with a remodel plate before installing the new faucet trim.
Best for advanced DIYers and professionals with basic plumbing knowledge and familiarity with power tools. Requires Wellco 70.8 in. x 70.8 in. Fiberglass Fire Blankets Emergency Heat Insulation And Flame Retardant Protection (4-Pack) WFB18P4 and First Alert General Purpose Fire Extinguisher 1-A:10-B:C - in Red FE1A10GOA and Safety Glasses.
Tools & Materials

Bucket
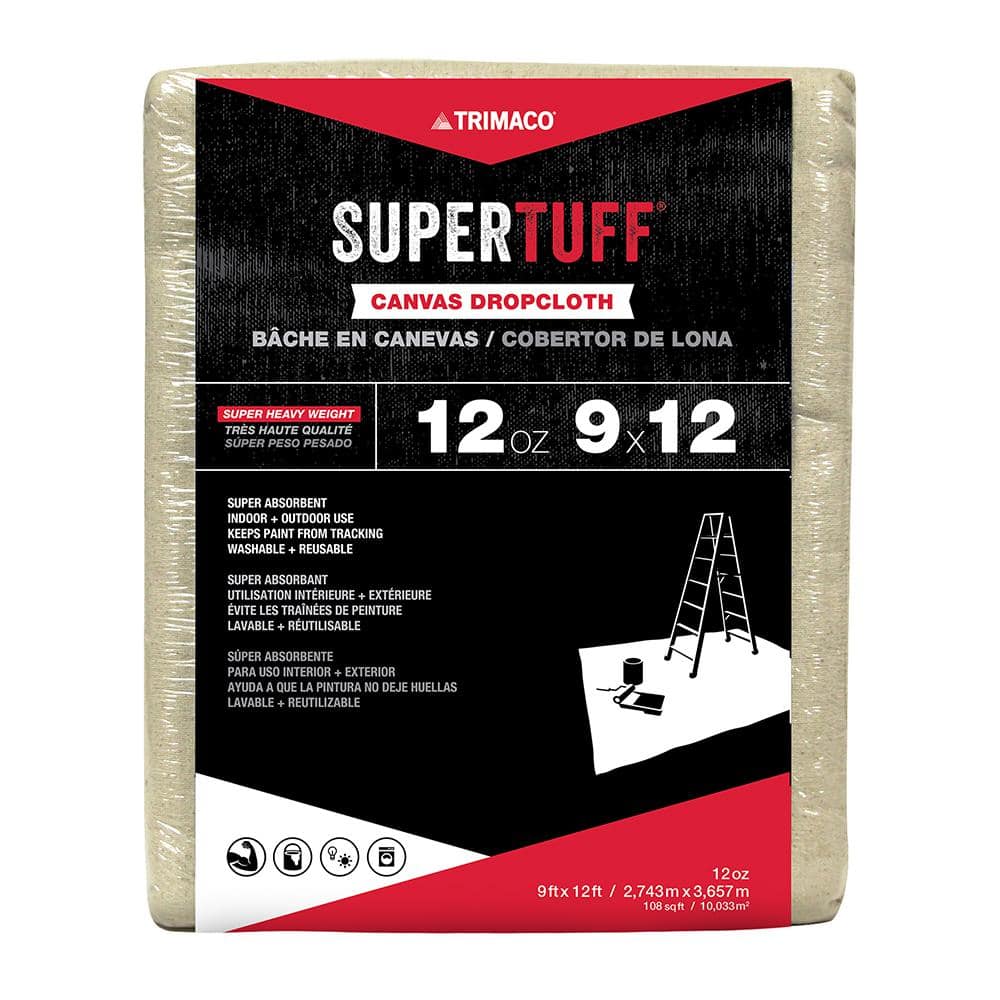
TRIMACO 12 oz. 9 ft. x 12 ft. Super Heavyweight Canvas Drop Cloth 51201
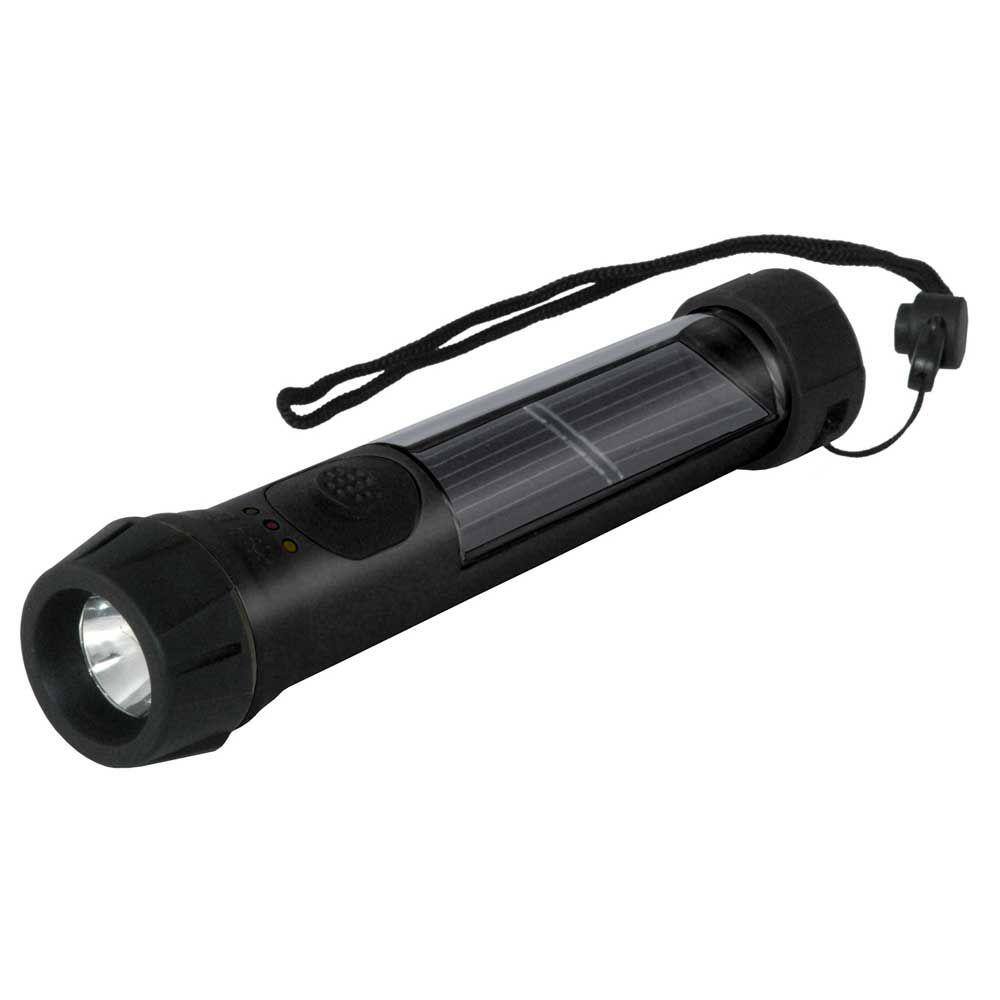
Hybrid Light Solar Flashlight - Black 001175
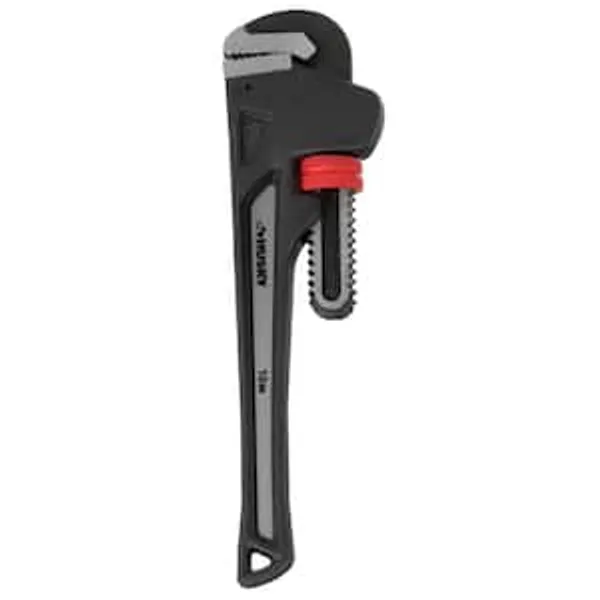
Wrench
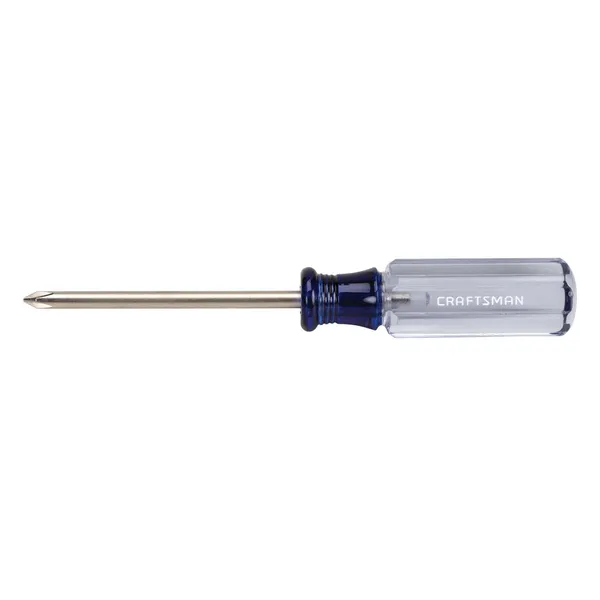
Phillips head screwdriver
KROIL Penetrating Oil Liquid, Industrial-Grade Penetrant, Multi-Purpose Oil, Liquid, NSF H2,50-State VOC Compliant KL011
Bucket
Ideal for carrying or storing liquids.
TRIMACO 12 oz. 9 ft. x 12 ft. Super Heavyweight Canvas Drop Cloth 51201
Trimaco's SuperTuff 12 oz. Super Heavy-weight Canvas Drop Cloth is ideal for painting, wallpapering, cleaning, leaf collection and other jobs. Absorbs spills. Washable and reusable.
Hybrid Light Solar Flashlight - Black 001175
The Hybrid Solar Light uses revolutionary technology that generates power from any light source, indoor lighting or sun light and stores it for later use. The Hybrid Solar Light is always collecting power
Wrench
Turns objects with grip and leverage.
Phillips head screwdriver
This is a type of screwdriver that has a cross-shaped tip.
KROIL Penetrating Oil Liquid, Industrial-Grade Penetrant, Multi-Purpose Oil, Liquid, NSF H2,50-State VOC Compliant KL011
KROIL Penetrant 1 Gal. can is an industrial-strength penetrating oil formulated to quickly penetrate deep into small crevices. KROIL attacks rust and corrosion to help loosen frozen or seized metal fasteners
Steps
Preparation and Water Shut-Off
15 minsBegin by shutting off the water to the entire house at the main water shut-off valve, typically located in a basement, crawlspace, or near the water meter. Once off, open a faucet on the lowest level of the house (like a basement sink) and the shower faucet itself to drain any remaining water from the pipes. Protect the shower or tub floor from scratches and debris by laying down a heavy-duty drop cloth. Place a bucket under the work area to catch any residual water when you disconnect the valve.
Remove Existing Faucet Trim
20 minsRemove the faucet handle, which is typically held on by a small set screw requiring an Allen wrench or a Phillips head screwdriver. Once the handle is off, remove the screws holding the trim plate (escutcheon) to the wall. If the escutcheon is stuck, carefully use a utility knife to score the caulk or sealant around its edge. A gentle pry with a putty knife may be needed to break it free. If screws are corroded, apply a small amount of penetrating oil and let it sit for 15 minutes before trying again.
Cut Tile for Access
45 minsThis is the most critical step. Measure the new valve body. Using a marker, draw a square or rectangular outline on the tile around the old valve. This opening must be large enough to work in and fit the new valve, but smaller than the remodel plate you purchased. To minimize tile chipping, apply painter's tape along your cut lines. Put on your safety glasses and dust mask. Use an angle grinder equipped with a diamond-tipped blade to carefully cut along the marked lines. Work slowly and let the tool do the work. Once cut, you may need to gently chisel out the cut piece of tile and backer board.
Disconnect and Remove Old Valve
30 minsWith the valve exposed, identify the hot, cold, and shower riser pipes. Use a tubing cutter to make clean cuts on all three pipes, leaving as much pipe stub as possible extending from the wall fittings. A mini tubing cutter may be necessary for tight spaces. Once the pipes are cut, locate the screws that secure the old valve body to the wooden support (stringer) inside the wall and remove them with a screwdriver. The old valve should now be free to be pulled out of the wall.
Solder and Install New Valve
60 minsPrepare the existing pipe ends by cleaning them inside and out with emery cloth until they are shiny. Dry-fit the new shower valve, using copper couplings to connect it to the existing pipes. You may need to cut small pieces of copper pipe to bridge any gaps. Once you have a perfect fit, disassemble it. Apply a thin layer of flux to the outside of the pipes and the inside of the couplings and valve fittings. Reassemble the pieces. Place a fire-resistant cloth behind the work area to protect the wood studs. Using a propane torch, heat the fittings (not the pipe) evenly. When the flux sizzles, touch the lead-free solder to the joint. The heat will draw the solder in, creating a solid seal. Repeat for all joints. Finally, secure the new valve to the stringer with screws, ensuring it is at the correct depth according to the manufacturer's instructions.
Leak Test
30 minsBefore closing the wall, you must test for leaks. Temporarily install threaded caps or plugs on the shower head outlet and the tub spout outlet. Use Teflon tape on the threads to ensure a good seal. Go back to the main shut-off and turn the water on SLOWLY. Open the valve and let the system pressurize. Carefully inspect every solder joint you made with a flashlight for any signs of dripping. Let it sit under pressure for at least 15-20 minutes. If any leak is found, you must shut the water off, drain the system, and re-solder the faulty joint.
Install Remodel Plate
15 minsOnce you are 100% confident there are no leaks, turn the water off again and remove the test caps. Position the large remodel plate over the hole you cut in the tile, ensuring it completely covers the opening. Using a caulking gun, apply a bead of 100% silicone sealant to the back of the plate along the top and two sides. Do NOT apply sealant to the bottom edge. Press the plate firmly against the wall. The silicone will hold it in place and create a waterproof seal. Leaving the bottom open allows any moisture that gets behind the plate to weep out instead of being trapped in the wall.
Install New Faucet Trim
20 minsWith the remodel plate in place, you can now install the new faucet's trim kit. Follow the manufacturer-specific instructions. This typically involves sliding a decorative sleeve over the valve body, attaching the new escutcheon plate (which will sit on top of your larger remodel plate), and finally attaching the new handle with its set screw using an Allen wrench or screwdriver.
Final Cleanup and System Check
15 minsTurn the main water supply back on completely. Turn on the new shower valve and test all its functions: hot, cold, and the diverter (if applicable). Check for any leaks around the new trim. Once satisfied, remove your drop cloth and use a shop vacuum to clean up all tile dust and debris from the shower and surrounding area. Wipe down all surfaces with a damp cleaning cloth.
Common Problems
Incorrectly identifying the leaking handle can lead to unnecessary work and wasted water.
Solution: If you are unsure which handle is leaking, turn off one shut-off valve at a time to identify the source of the leak.
Always shut off the main water supply before starting any plumbing project to avoid flooding.
Solution: To avoid this issue: Be mindful of this warning and take appropriate precautions.
Confirm that the water is completely off by checking a faucet inside the house before proceeding to cut any pipes.
Solution: To avoid this issue: Be mindful of this warning and take appropriate precautions.
This is a crucial first step to avoid water spraying everywhere while you work.
Solution: To avoid this issue: Be mindful of this warning and take appropriate precautions.
Water won't drain, preventing solder from melting and creating a leak.
Solution: If water is dripping, the pipe will not get hot enough to melt the solder. Ensure the system is fully drained.
Soldered joints are incorrect or leak, requiring re-soldering.
Solution: Doing a dry fit prevents mistakes and ensures you don't have to undo a soldered joint.
Leaky pipes due to poor solder joints.
Solution: Cleaning the pipes and fittings is a critical step for a successful solder joint.
Frequently Asked Questions
How difficult is it to replace a shower valve through a tiled wall, and how long should I expect it to take?
This is an intermediate-level plumbing project, primarily due to the precision required for cutting tile and soldering pipes. For an experienced DIYer, it typically takes a full day, approximately 6-8 hours, including prep, the actual work, leak testing, and cleanup. First-timers might need more time or assistance.
What are the most critical safety precautions I need to take before starting this project?
Always shut off your home's main water supply completely before beginning to prevent flooding. When using the Bernzomatic propane torch for soldering, ensure excellent ventilation and have a fire extinguisher or bucket of water nearby. Always wear appropriate safety glasses and gloves to protect against heat and debris.
What are the most common mistakes to avoid when replacing a shower valve, especially to prevent leaks?
The biggest mistake is improper soldering, which is the primary cause of leaks. Ensure all pipe ends are clean, dry, and properly fluxed before applying Oatey Safe Flo Lead-Free Silver Solder Wire. After installation, perform a thorough leak test by slowly repressurizing the system and inspecting all new joints for drips before closing up the wall.
What is a 'remodel plate' and why is it essential for this project if I'm cutting into my tile?
A remodel plate is a larger trim plate designed to cover the oversized access hole you cut in your existing tile to replace the shower valve. It allows you to make a sufficiently large opening for easy access, soldering, and leak testing without needing to replace an entire section of tile. It provides a clean, finished look around your new faucet trim.
Are there alternatives to using a Bernzomatic propane torch and soldering if I'm uncomfortable with that method?
Yes, for copper pipes, push-fit connectors (like SharkBite fittings) offer a solder-free alternative that can simplify the connection process. These fittings create a watertight seal without heat, but they generally cost more than traditional copper fittings and still require precise pipe cutting. Ensure your new Lukvuzo Shower Valve Body is compatible.
Besides the new shower valve, what are the other significant costs I should anticipate for this project?
Expect costs for essential materials like copper pipe, lead-free solder, and a remodel plate. If you don't already own specialized tools such as a Bernzomatic propane torch, wet-dry vacuum, or tile-cutting equipment, these purchases will add to the overall investment. Total project cost, excluding labor, can range from $150 to $400+ depending on your existing tool inventory.


