

How to Replace a Cast Iron Toilet Flange with PVC
About This Project
This guide provides comprehensive, step-by-step instructions for removing an old, broken, or corroded cast iron toilet flange and replacing it with a modern, durable PVC flange. The process involves removing the toilet, breaking apart the old cast iron flange, cleaning the existing drain pipe, and installing the new PVC flange assembly using a flexible transition coupling.
Best for advanced DIYers and professionals with basic plumbing knowledge and familiarity with power tools. Requires HDX Indoor Safety Glasses Clear (1-Pack) VS-9300, clear and Husky Large Heavy Duty Glove 67812-06.
Tools & Materials
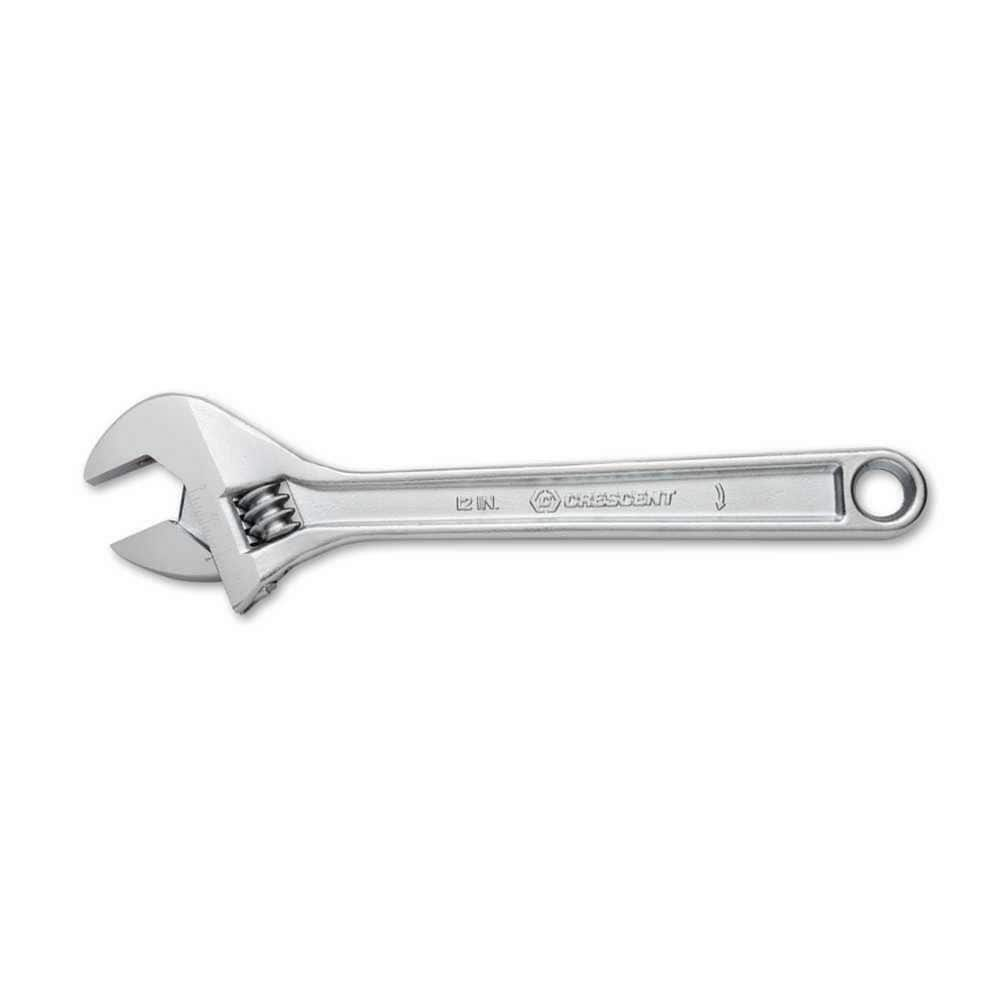
Crescent 12 in. Chrome Adjustable Wrench AC212VS
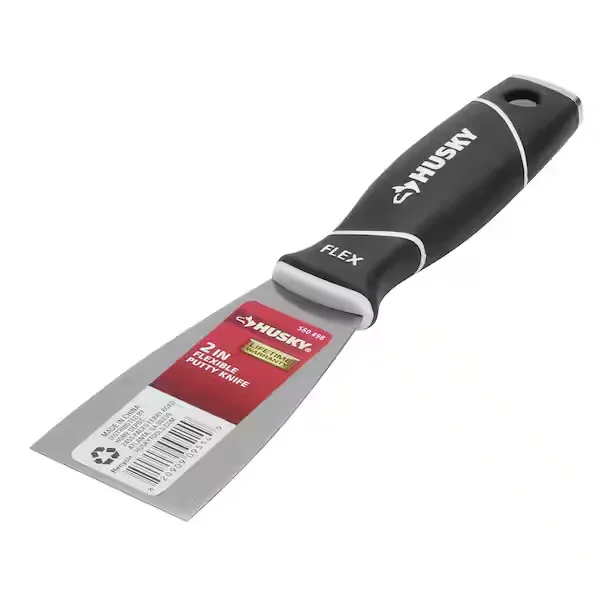
Putty knife

HDX Multi-Purpose Sponge (2- Sponges) 32242

Unger 6 Gal. Heavy-Duty Plastic Bucket DB02
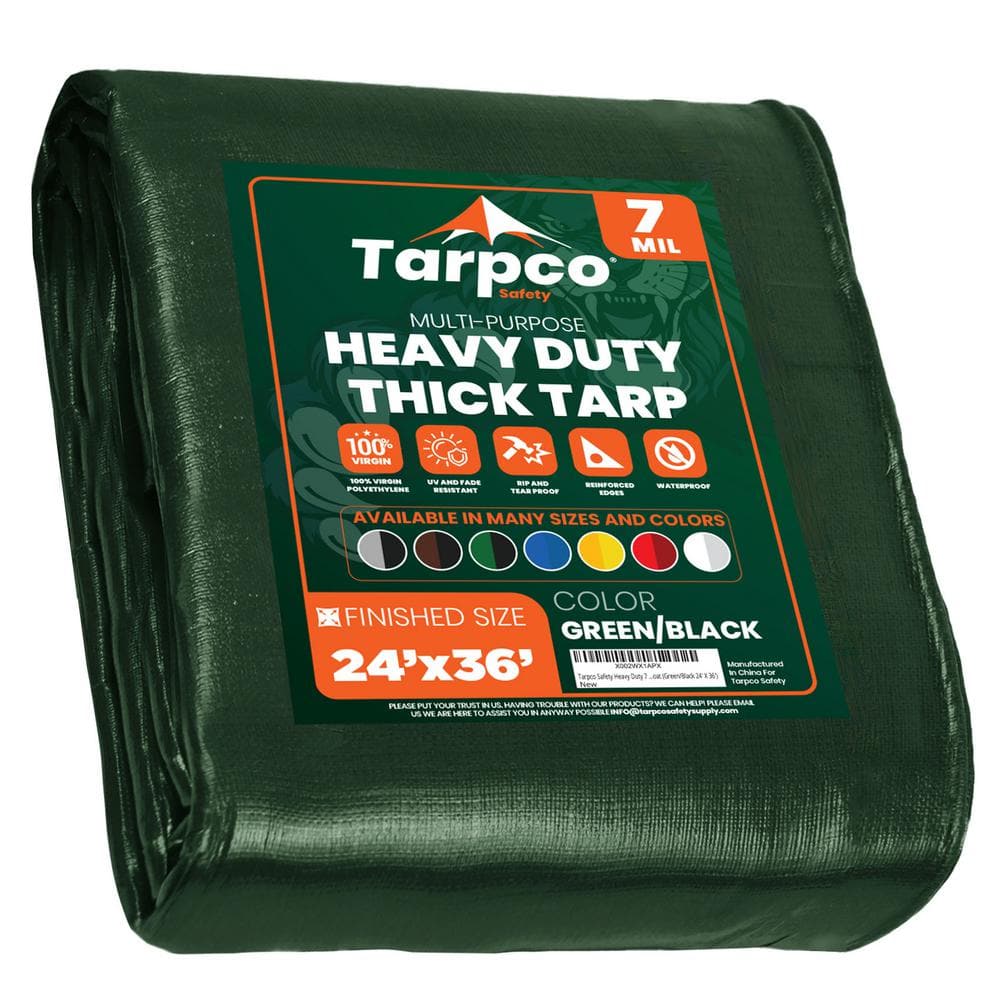
TARPCO SAFETY 24 ft. x 36 ft. Green/Black 7 Mil Heavy Duty Polyethylene Tarp, Waterproof, UV Resistant, Rip and Tear Proof TS-203-24x36
Rag
Crescent 12 in. Chrome Adjustable Wrench AC212VS
Since the introduction of the original Crescent wrench in the early 1900s, the Crescent brand has become synonymous with adjustable wrenches. Crescent Adjustable Wrenches feature a large knurl for easy
Putty knife
Spreads putty with its flat blade.
HDX Multi-Purpose Sponge (2- Sponges) 32242
HDX Hydrophilic Sponge 7.25 in. x 5 in. x 1.875 in. (2-Pack) highly absorbent, the HDX Sponge washes, wipes, and rinses faster. Strong enough for use with acid based products like TSP. Heavy-duty polyester
Unger 6 Gal. Heavy-Duty Plastic Bucket DB02
The Unger 6-Gallon Heavy-Duty Professional Cleaning Bucket holds more than 6 Gal. of liquid. The bucket can accommodate a scrubber up to 14 in. L. This bucket features measurement marks and 2-pour spouts
TARPCO SAFETY 24 ft. x 36 ft. Green/Black 7 Mil Heavy Duty Polyethylene Tarp, Waterproof, UV Resistant, Rip and Tear Proof TS-203-24x36
One tarp, endless possibilities. Tarpco Safety's multi-purpose tarpaulin cover is a must-have item for every household, thanks to its practicality and endless uses. For example, you can use this tarp sheet to cover your car. boat, pool, roof, or outdoor furniture. You can also use the tarp sheet to cover wood logs and building materials, as well as house floors when you want to paint the walls Let's not forget outdoor activities. This waterproof tarp can be used to build a canopy tent or you can use it as a ground blanket to keep your tent safe from sharp rocks and stones. Tarpco Safety has designed the ultimate weatherproof tarp cover. This heavy duty outdoor tarp sheet is built to cover and effectively protect small and large objects from all extreme weather conditions:Is it too sunny and warm outside? This tarp is UV resistant so the sun rays cannot get through it.Is it raining a lot? The protective tarp sheet is 100% waterproof so it will keep your wood logs dry and ready for use.Is it snowing? You can use the tarpaulin cover to keep your vehicle from getting buried under the snow.Is it windy? The heavy duty tarp with the 12 x 10 weave count and 100% virgin polyethylene will not tear or rip.Tying it down is going to be simple and easy. This polyethylene tarp sheet has metal grommets every 36 inches and reinforced edges. These grommets are ultra strong and they will help you tie down the waterproof canopy tarp easily and in a very steady and secure way.
Rag
Handy for cleaning or wiping tasks.
Steps
Prepare Workspace and Remove Toilet
30 minsBegin by turning off the water supply to the toilet using the shutoff valve on the wall behind it. Flush the toilet to empty the tank, then use a sponge and bucket to remove any remaining water from the tank and bowl. Disconnect the water supply line from the toilet tank. Use a putty knife to pry off the bolt caps at the base of the toilet, then use an adjustable wrench to remove the nuts from the closet bolts. Gently rock the toilet to break the wax seal and lift it straight up and away. Place it on old towels or a tarp out of the work area.
Break and Remove the Old Cast Iron Flange
1 minWEAR SAFETY GLASSES AND HEAVY-DUTY GLOVES. First, stuff a large rag into the drain pipe opening to block sewer gas and prevent debris from falling down. Using a cold chisel and a hammer (or small sledgehammer), carefully begin to break the cast iron flange ring. Place the chisel on the top of the flange ring and strike it firmly. Work your way around the ring, creating fractures. Avoid striking the central drain pipe. Once the ring is sufficiently fractured, use a pry bar to lift the broken pieces away. You may need to chip away at the lead and dig out the oakum rope that forms the seal between the flange and the pipe.
Clean and Prepare Drain Pipe
20 minsOnce the flange is removed, thoroughly clean the top edge and the outer surface of the cast iron drain pipe where the new coupling will sit. Use a wire brush to remove any rust, residue, and remaining bits of lead or oakum. The surface must be clean and relatively smooth to ensure a watertight seal with the new flexible coupling. Use a shop vacuum to clean up all debris from the surrounding area.
Cut Drain Pipe to Correct Height
30 minsThe new PVC flange must sit flat on top of the finished floor. Dry fit your new flange, a short piece of PVC pipe, and the flexible coupling to determine the correct height. In many cases, the old cast iron pipe will be too tall. Measure and mark a cut line on the cast iron pipe, typically about 1/4 to 1/2 inch below the top of the finished floor. The best tool for this is a rented cast iron snap cutter, which makes a clean, straight cut. Alternatively, you can use an angle grinder with a metal cutoff wheel or diamond blade. WEAR a dust mask, hearing protection, and safety glasses if using a grinder.
Dry Fit and Install PVC Flange Assembly
30 minsFirst, slide the flexible transition coupling (e.g., a Fernco coupling) over the cleaned cast iron pipe. Next, prepare the PVC components. Cut a short piece of 4" PVC pipe that will connect the flange to the coupling. Apply PVC primer to the inside of the flange hub and the outside of the PVC pipe end, then apply PVC cement to the same surfaces and push them together with a quarter turn. Hold for 30 seconds. Now, insert the PVC pipe into the flexible coupling. Position the flange so it sits flat on the floor, with the closet bolt slots oriented parallel to the back wall. Use a nut driver or socket wrench to tighten the stainless steel bands on the flexible coupling, securing it to both the cast iron and PVC pipes. Do not overtighten, but ensure it is snug. Finally, secure the flange to the subfloor using appropriate screws (e.g., stainless steel or corrosion-resistant screws).
Reinstall the Toilet
30 minsRemove the temporary rag from the drain pipe. Install the new closet bolts into the slots on the new flange. Place a new wax ring on the flange, pressing it gently to create a slight seal. Carefully lift the toilet, align the holes in its base with the closet bolts, and lower it straight down onto the flange. Press down firmly with your body weight and give a slight twist to compress the wax ring and create a seal. Place the washers and nuts onto the closet bolts and tighten them alternately until snug. Do not overtighten, as this can crack the porcelain base. Reconnect the water supply line, turn the water on, and check for leaks at the base and the supply connection as the tank fills. Flush several times and check again for any signs of water.
Common Problems
A rough pipe surface prevents a watertight seal, causing leaks.
Solution: A clean, smooth surface on the old pipe is essential for achieving a watertight seal with the new flexible couplings.
Toilet flange is crooked, causing leaks.
Solution: Might as well check for plumb before tightening.
Twisting too hard can misalign bolt slots, preventing proper flange seating.
Solution: The quarter-turn twist is essential for a good bond, but do not twist so much that you misalign your bolt slots.
Over-tightening band clamps can damage the PVC coupling, leading to leaks.
Solution: Do not over-tighten the band clamps, as this can damage the coupling. They should be snug enough to prevent leaks.
Dust prevents primer and glue from adhering, causing leaks.
Solution: Wipe the area with a clean rag after sanding to remove any dust before applying primer.
Wear safety glasses to protect your eyes from flying debris while cutting and chipping.
Solution: To avoid this issue: Be mindful of this warning and take appropriate precautions.
The old seal is made of lead. Handle and dispose of the removed material according to local regulations for hazardous waste.
Solution: To avoid this issue: Be mindful of this warning and take appropriate precautions.
Frequently Asked Questions
How long should I expect this cast iron flange replacement project to take for an intermediate DIYer?
This project typically takes 3-6 hours, depending on the condition of the old flange and your prior DIY experience. It's rated intermediate due to the physical effort required to break cast iron and the precision needed for pipe cutting and fitting.
What are the most important safety precautions I need to take when breaking apart the old cast iron flange?
Always wear safety glasses, heavy-duty impact gloves, and hearing protection to shield against flying debris and loud impacts. Ensure good ventilation to minimize dust inhalation, and use a shop vacuum to carefully clean up all cast iron fragments.
What should I do if the existing cast iron drain pipe is too corroded or cracks further down when I try to remove the flange?
If the pipe is severely corroded or cracks below the flange, you might need to cut the cast iron pipe further down. This usually requires a specialized cast iron cutter or an angle grinder with a diamond blade. In such cases, installing a 'no-hub' coupling to connect to new PVC or consulting a professional plumber may be necessary.
Why is a flexible transition coupling like the Fernco specifically recommended for connecting the new PVC to the old cast iron?
A flexible transition coupling is essential because it's designed to create a watertight seal between dissimilar pipe materials, such as cast iron and PVC, which often have slightly different outer diameters. It accommodates minor imperfections in the old cast iron pipe, ensuring a secure, leak-free connection without needing to perfectly match pipe ends.
Is there an alternative to breaking the cast iron flange with a chisel, such as cutting it, and what tools would that require?
Yes, you can cut the cast iron flange using an angle grinder fitted with a diamond cutting blade. This method can be faster but generates significant dust, sparks, and noise, requiring extra safety gear like a face shield and ear protection. Breaking with a chisel is often preferred for DIYers due to lower tool cost and less extreme hazards.
How do I ensure a leak-proof seal when installing the new PVC flange and prevent the toilet from wobbling?
For a leak-proof seal, ensure you use PVC primer and cement correctly on all PVC joints according to manufacturer instructions. To prevent wobbling, securely fasten the new flange to the subfloor using appropriate anchors (like the Hilti anchors for concrete floors) and use a high-quality wax ring or a modern wax-free seal when reinstalling the toilet.


