
How to Replace a Well Pressure Tank
About This Project
This guide provides comprehensive, step-by-step instructions for safely removing an old well pressure tank and installing a new one. The process includes shutting down the system, draining the old tank, making plumbing connections, pre-charging the new tank, and testing the system for proper operation.
Best for advanced DIYers and professionals with basic plumbing knowledge. Requires Voltage / Circuit Tester.
Tools & Materials
Voltage / Circuit Tester
GardenJoy PVC Garden Hose 5/8 in. x 75 ft. Heavy-Duty Durable Hose Outdoor Water Hose LG-GHB5875

Unger 6 Gal. Heavy-Duty Plastic Bucket DB02
WYPALL L40 Towels, Dry Up Towels, 19-1/2 in. x 42 in., White, 200 Towels/Roll KCC05860
Milwaukee 4 in. x 1/4 in. Slotted Flat Head Screwdriver with Cushion Grip MT206
TradesPro 14 in. HD Pipe Wrench 830914
Voltage / Circuit Tester
Detects electrical voltage presence.
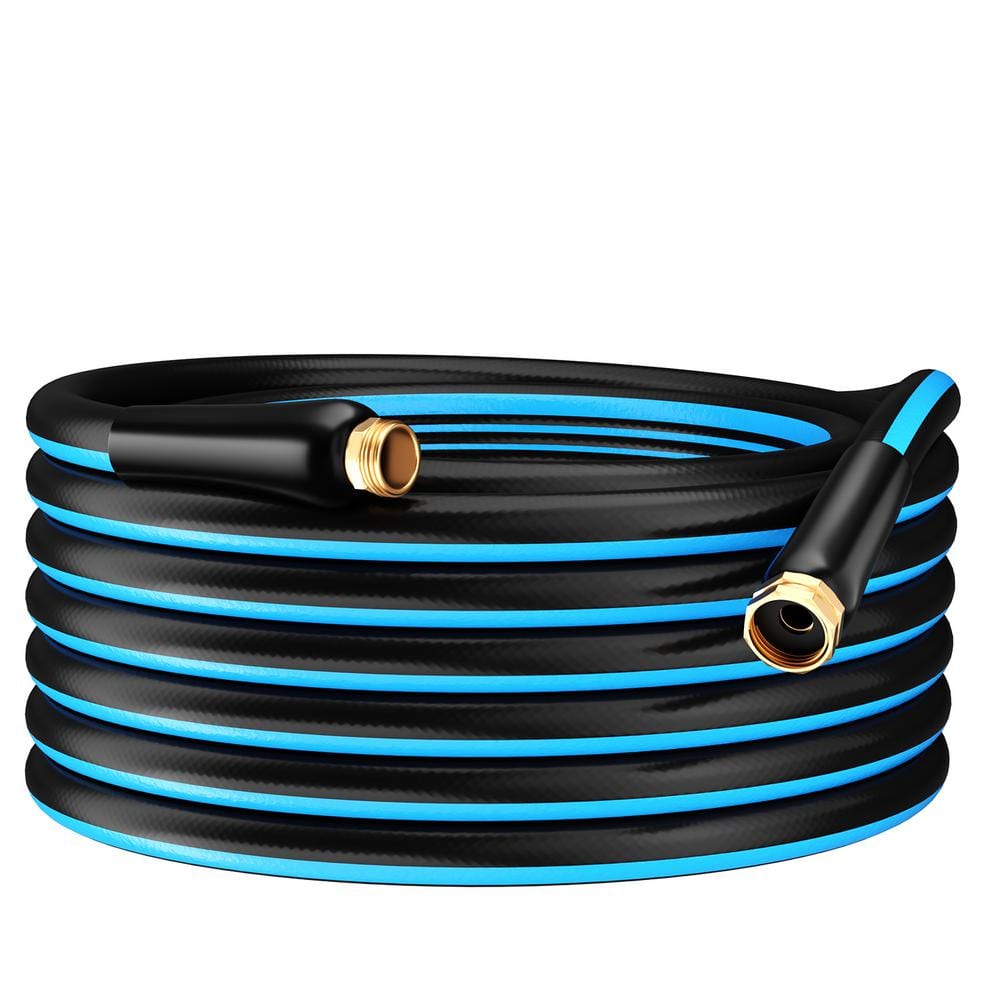
GardenJoy PVC Garden Hose 5/8 in. x 75 ft. Heavy-Duty Durable Hose Outdoor Water Hose LG-GHB5875
Light-weight and Flexible: Made from premium PVC, our garden hose is both light-weight and durable, allowing for easy handling without kinks or tangles, ideal for all your watering and cleaning needs.
Unger 6 Gal. Heavy-Duty Plastic Bucket DB02
The Unger 6-Gallon Heavy-Duty Professional Cleaning Bucket holds more than 6 Gal. of liquid. The bucket can accommodate a scrubber up to 14 in. L. This bucket features measurement marks and 2-pour spouts
WYPALL L40 Towels, Dry Up Towels, 19-1/2 in. x 42 in., White, 200 Towels/Roll KCC05860
WYPALL L40 Wipers are effective wipers that absorb liquids lightning-fast. These wipes are made of bonded cellulose using DRC (double re-creped) technology for strength, softness and absorbency. As a wiping cloth, it soaks up liquids fast, but all you'll feel is softness, thanks to a plush, touchable outer layer. In fact, it's a popular choice for patient wiping in healthcare industries, for bathing and patient drying. These utility wipes are specially designed to absorb liquids, lubricants and oils (in restaurants for wiping counters, in mechanic shops, industrial and commercial factories and more), yet they're soft enough for use on face and hands. Experience the difference in superior absorbency and cleaning at your home or office today. Towel/Wipe Type: Dry Wipes; Application: Bathrooms; Material(s): Cloth-Like; Number of Plies: 1.
Milwaukee 4 in. x 1/4 in. Slotted Flat Head Screwdriver with Cushion Grip MT206
The Milwaukee® 1/4" Slotted 4" Cushion Grip Screwdrivers (USA) are manufactured to give the professional the best-fitting screwdriver with max grip. These screwdriver tips are custom machined to deliver
TradesPro 14 in. HD Pipe Wrench 830914
A simple tool that's simply irreplaceable around the house, yard, garage and worksite. Nothing works better at biting, clamping and turning stubborn pipes, fittings and more. This wrench has all the essentials
Steps
Preparation and Safety
15 minsLocate the circuit breaker that controls the well pump and switch it to the 'OFF' position. To be certain, go to the pressure switch near the tank and use a non-contact voltage tester to confirm there is no power. Close the main water shut-off valve, which is typically located after the pressure tank, to isolate the house plumbing. Open a nearby faucet (like a laundry sink) to relieve the pressure in the pipes and help drain the system.
Drain the Old Tank
45 minsLocate the drain valve (also known as a boiler drain or spigot) on the tank tee at the bottom of the pressure tank. Securely attach a garden hose to this valve and run the other end to a floor drain, sump pump, or outside. Open the drain valve fully. The tank will begin to drain. This process can take a significant amount of time for a 44-gallon tank. To help speed it up and prevent a vacuum from forming, ensure a faucet somewhere in the house remains open.
Disconnect Plumbing
20 minsPlace a bucket and some rags under the tank connection to catch any remaining water. Using two large pipe wrenches, place one on the tank tee manifold to hold it steady (this is the 'backup wrench'). Place the second wrench on the threaded fitting that connects the tank to the tee. Apply force in a counter-clockwise direction to loosen the tank. Once loose, you should be able to unscrew it the rest of the way by hand. Carefully move the old tank out of the way.
Prepare and Pre-charge New Tank
15 minsUnbox the new pressure tank. Locate the air valve (Schrader valve) on top of the tank. Use a tire pressure gauge to check the factory pre-charge. For a system with a 40/60 PSI pressure switch, the tank's air pressure should be 38 PSI (2 PSI below the 40 PSI cut-in). Use a bicycle pump or air compressor to add or release air to reach this exact pressure. Next, take the roll of Teflon tape and wrap the male threads on the tank's water inlet 3-4 times in a clockwise direction. This ensures the tape tightens as you screw the tank in.
Install the New Tank
25 minsWith assistance, carefully move the new, pre-charged tank into position. Align its threaded inlet with the female connection on the tank tee. Be careful to start the threads by hand, turning clockwise, to prevent cross-threading. Screw the tank in by hand until it is snug. Then, using your two pipe wrenches in the same manner as for removal (one for backup), tighten the connection until it is firm and secure. A good rule of thumb is one to two full turns past hand-tight, but do not over-tighten, as this can damage the fittings.
Re-pressurize and Check for Leaks
15 minsDouble-check that the tank connection is tight and that the hose-bib drain valve on the tank tee is fully closed. Also ensure any faucets you opened to drain the system are now closed. Go to the main water shut-off valve and open it SLOWLY. You will hear water begin to fill the new tank and the pipes. As the system fills, meticulously inspect the new connection point between the tank and the tee for any signs of water. Use a dry paper towel or your hand to feel for moisture. If you detect a leak, shut the water off and tighten the connection slightly (1/4 turn) and test again.
Restore Power and Test System
20 minsWith the system full of water and confirmed to be leak-free, go back to the circuit breaker and restore power to the well pump. The pump should immediately turn on. Watch the pressure gauge on the tank tee; the pressure should climb until it reaches the pump's cut-off pressure (60 PSI for a 40/60 switch), and then the pump will shut off. Go to a faucet and turn it on. The pressure will fall. When it reaches the cut-in pressure (40 PSI), the pump should turn back on. Let the system run through this cycle 2-3 times to confirm everything is operating correctly. Finally, open a tub faucet for several minutes to purge any air from the pipes.
Common Problems
Leaky connections go unnoticed, causing water damage and system failure.
Solution: Use a dry paper towel to wipe around the bolts and connections. It will make it easier to spot even the smallest amount of moisture.
Tank overfills or doesn't fill properly due to incorrect float adjustment.
Solution: The water level in the tank can be adjusted by turning the screw on the fill valve float.
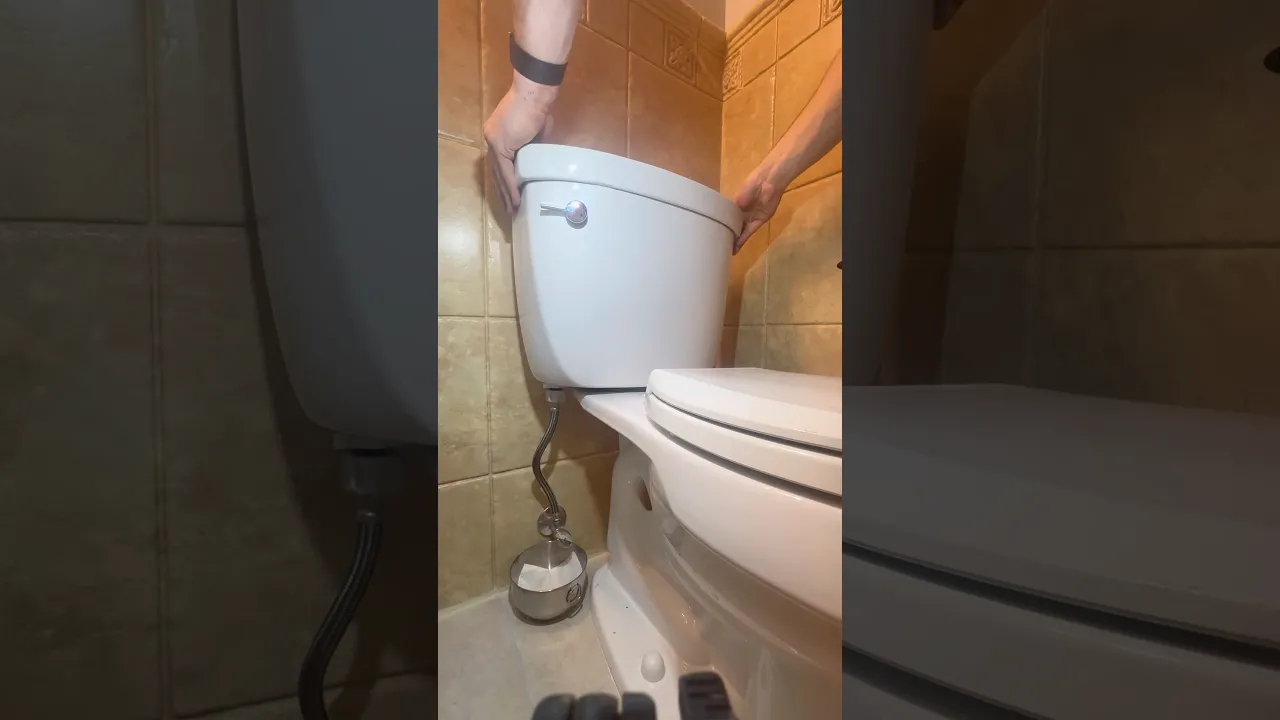
Uneven or weak toilet flushes.
Solution: The new fill valve may have an adjustment knob to control the amount of water that refills the bowl versus the tank, allowing you to fine-tune the flush performance.
Leaking connections go unnoticed, causing water damage.
Solution: Use a dry paper towel to wipe around the connections; any moisture will be immediately obvious on the paper.
If the tank's air pressure is too low or too high relative to the system pressure, it will not function correctly to absorb thermal expansion, which could lead to the T&P valve discharging or stress on your plumbing system.
Solution: To avoid this issue: Be mindful of this warning and take appropriate precautions.
You must relieve the water pressure from the system before checking or adding air to the expansion tank to get an accurate reading.
Solution: To avoid this issue: Be mindful of this warning and take appropriate precautions.
If water comes out of the air valve, the tank has failed and needs to be replaced immediately.
Solution: To avoid this issue: Be mindful of this warning and take appropriate precautions.
Frequently Asked Questions
Is replacing a well pressure tank a difficult DIY project, and how long should I expect it to take?
This project is rated as intermediate difficulty. While straightforward, it requires careful attention to detail, especially with plumbing connections and pre-charging the tank. A typical replacement can take 2-4 hours for a DIYer, assuming you have all tools and materials ready and no unexpected complications.
What are the most crucial safety steps I need to follow when replacing my well pressure tank?
Always begin by shutting off power to the well pump at the circuit breaker to prevent accidental electrocution or pump damage. Additionally, thoroughly drain all water from the system to relieve pressure before disconnecting any plumbing, and wear appropriate eye protection and gloves to protect against debris and water.
What specific tools are essential for this project, beyond basic household items?
You'll definitely need two large pipe wrenches (e.g., 16-inch and 14-inch) for secure plumbing connections, a reliable tire pressure gauge (0-100 PSI) to accurately pre-charge the new tank, and a separate pressure gauge for monitoring system pressure. Teflon tape is also critical for creating leak-free seals on all threaded connections.
What is the most common mistake DIYers make when installing a new well pressure tank, and how can I avoid it?
The most common mistake is failing to properly pre-charge the new tank with air before installation, or setting the pressure incorrectly. Always set the tank's air pressure 2 PSI below your pump's cut-in pressure (e.g., 38 PSI for a 40/60 switch) while the tank is empty, to ensure efficient pump operation and tank longevity. Use an accurate pressure gauge for this critical step.
My well pump is cycling too frequently after installing the new tank. What could be wrong?
Frequent cycling often indicates that the tank's pre-charge air pressure is too low, or that the tank itself is undersized for your system. First, re-check the air pressure in the tank and adjust it to be 2 PSI below the pump's cut-in pressure when the tank is empty. If the issue persists, consider if the tank's capacity is sufficient for your household's water usage.
Can I repair a leaking well pressure tank, or do I always have to replace it?
In most cases, if a well pressure tank is leaking, it indicates an internal bladder failure or significant corrosion, making repair impractical or impossible. Attempting to repair a leaking tank often leads to further issues. Replacement is almost always the safest and most reliable solution to restore proper system function and prevent future problems.


