Microwave Repair
About This Project
This outline provides a high-level overview for diagnosing and potentially repairing common issues with a microwave oven. It covers safety precautions, basic troubleshooting steps, and common component replacements. It is intended as a guide for DIYers and emphasizes safety and when to call a professional.
Tools & Materials
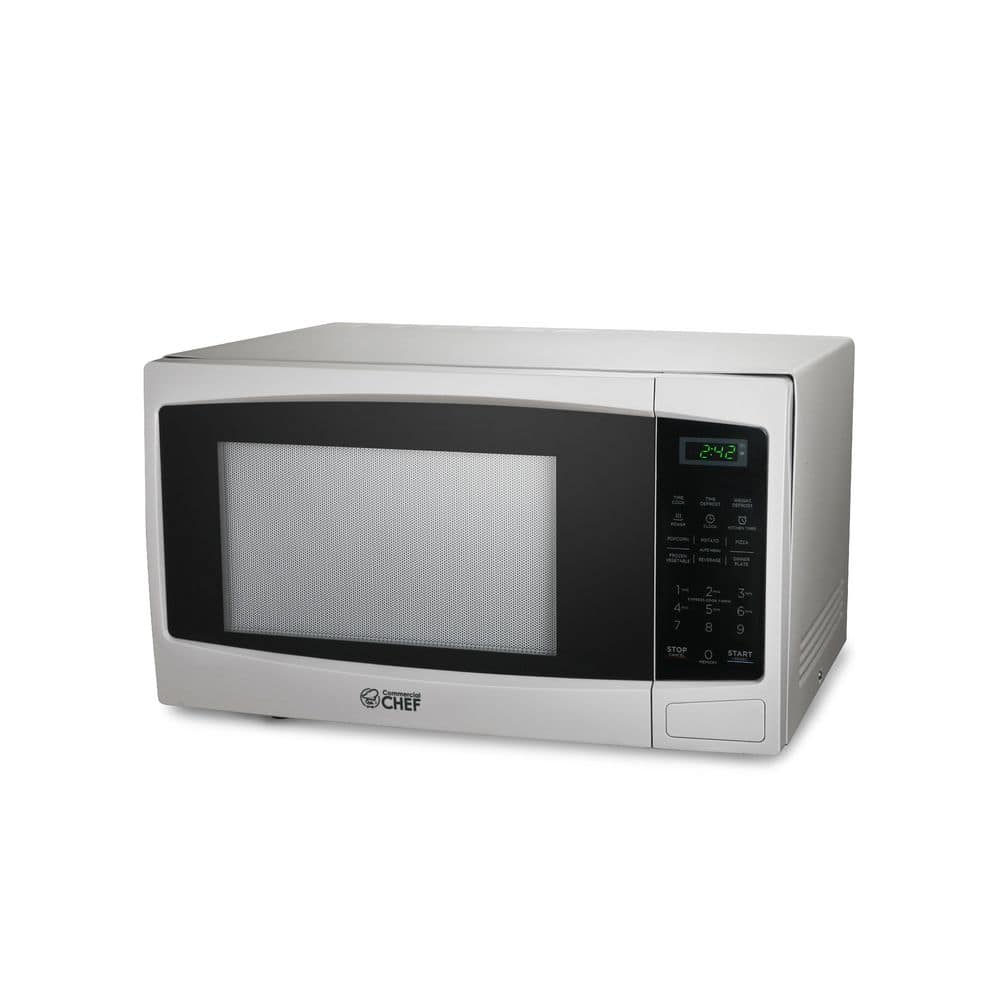
Commercial CHEF 20.2 in. W 1.1 cu. ft. 1000-Watt Countertop Microwave Oven in White CHM11MW
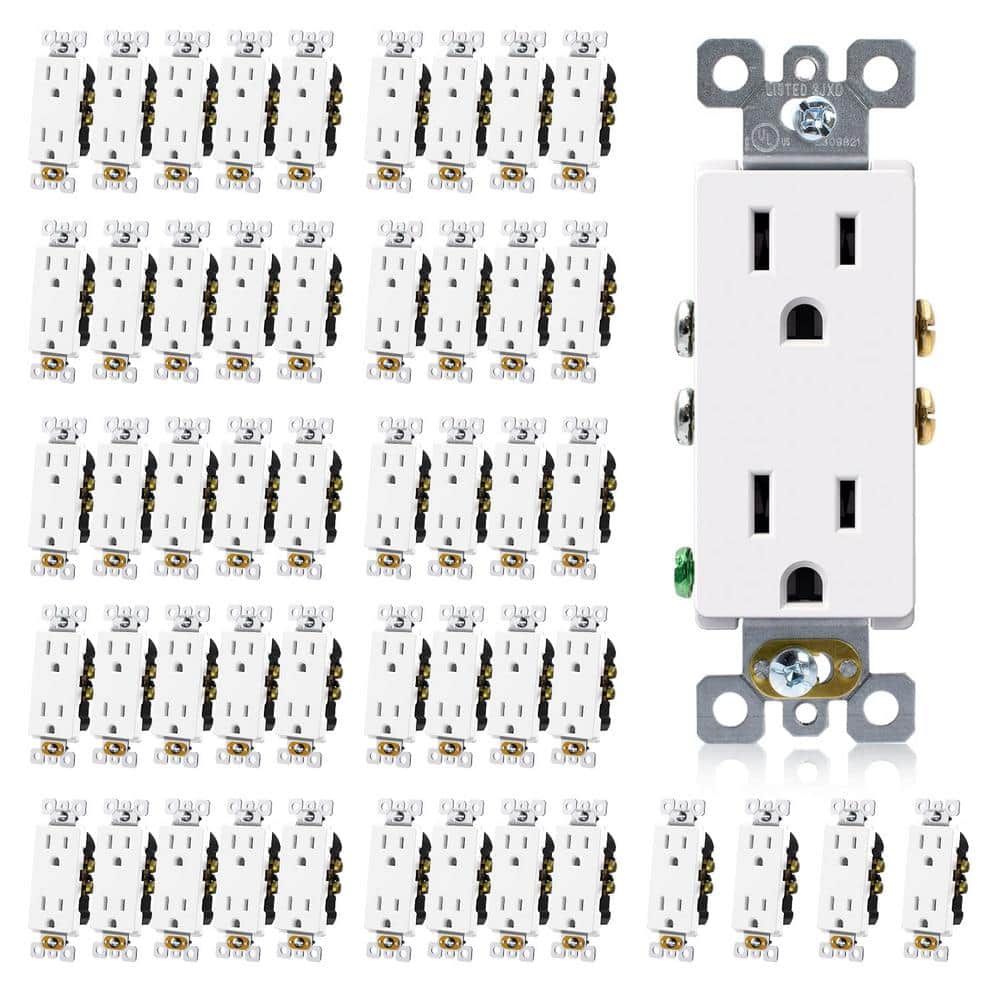
Etokfoks 15A/125-Volt, Standard Wall Outlet, 2-Pole Non-Tamper Resistant, Self-Grounding, UL Listed in Matte White - (50-Pack) MLPH005LT665
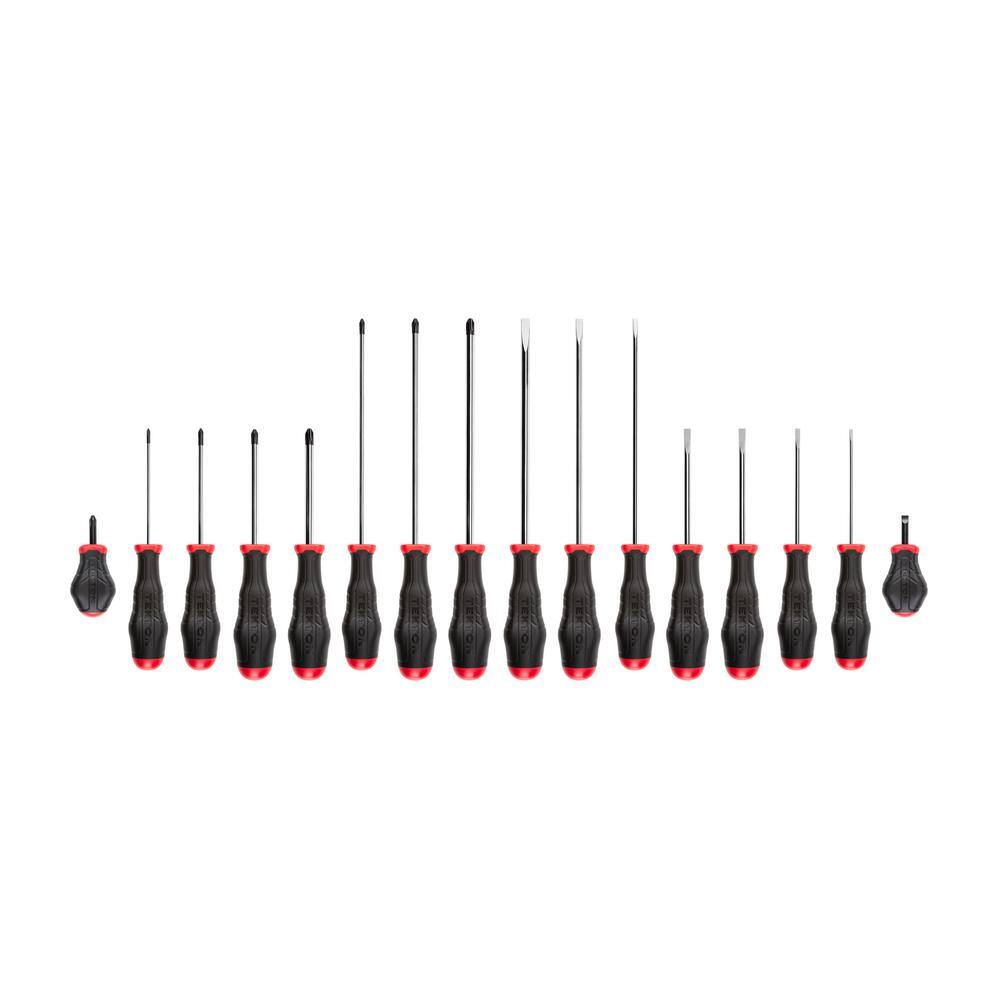
TEKTON High-Torque Screwdriver Set, 16-piece (#0-#3,1/8-5/16 in.) DRV45002
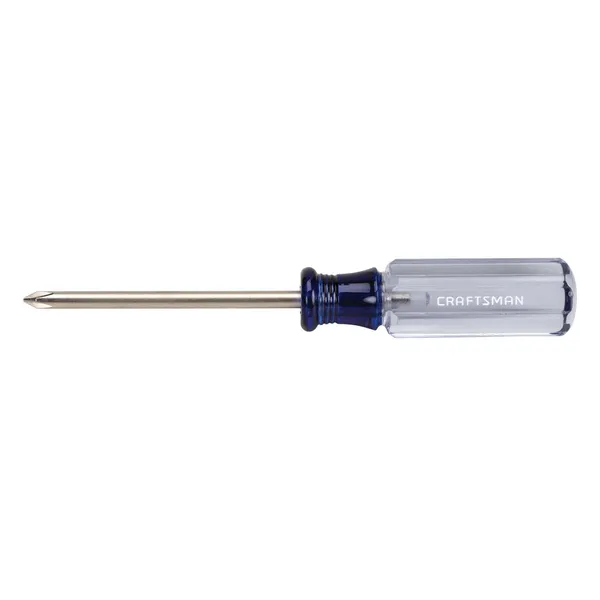
Phillips head screwdriver
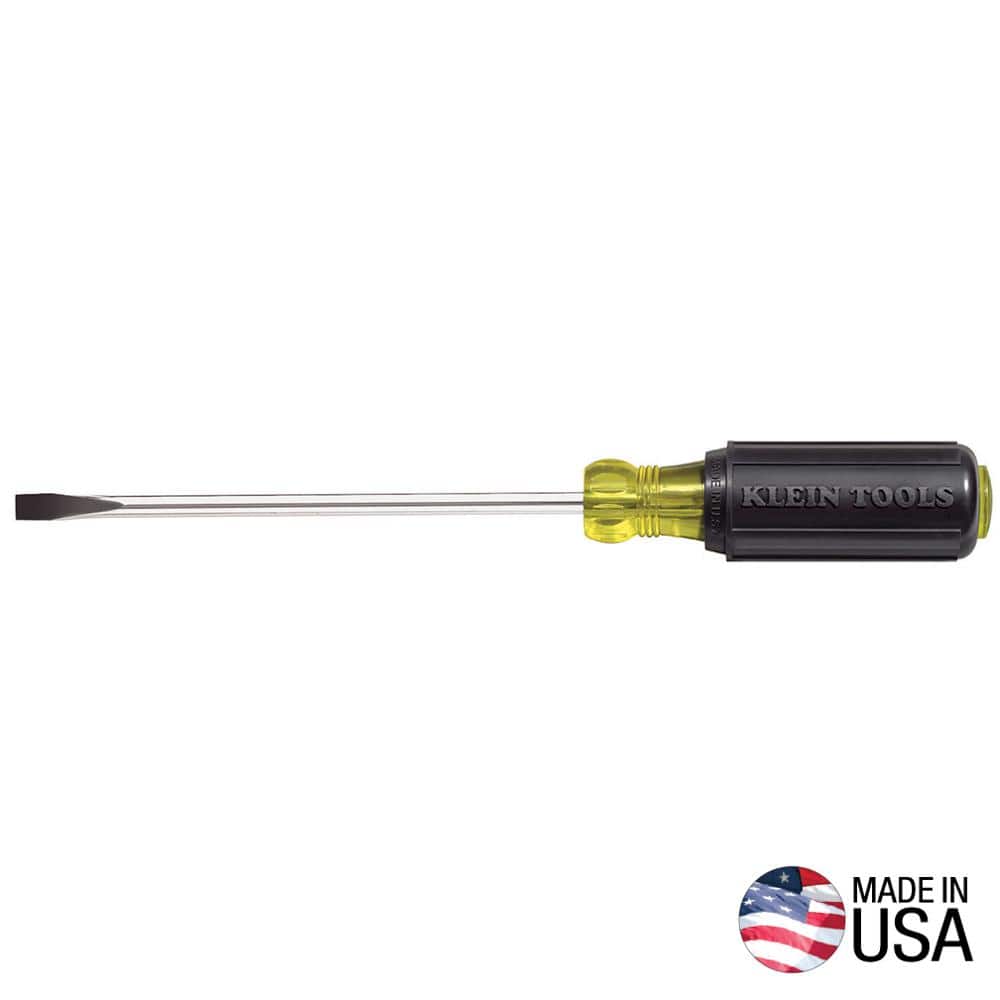
Klein Tools 1/4 in. Cabinet-Tip Flat Head Screwdriver with 10 in. Heavy-Duty Round Shank 605-10
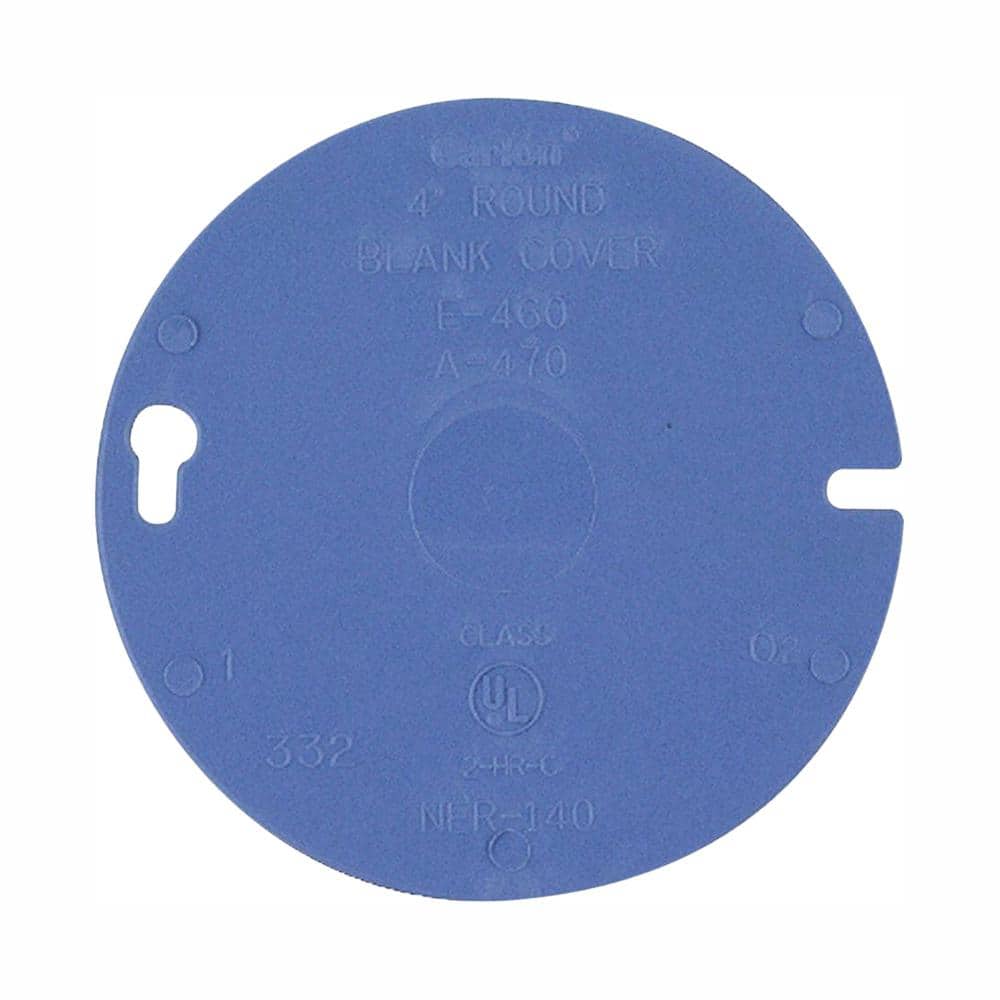
Carlon 4 in. Round Blank PVC Electrical Box Cover (Case of 35) E460R-CAR
Commercial CHEF 20.2 in. W 1.1 cu. ft. 1000-Watt Countertop Microwave Oven in White CHM11MW
Heat and re-heat your favorite foods and beverages with this outstanding COMMERCIAL CHEF microwave oven countertop. With an impressive capacity of 1.1 cubic feet, this 1000 watt microwave oven ensures
Etokfoks 15A/125-Volt, Standard Wall Outlet, 2-Pole Non-Tamper Resistant, Self-Grounding, UL Listed in Matte White - (50-Pack) MLPH005LT665
Upgrade your electrical outlets with our 15A/125-Volt, Standard Wall Outlet 50-Pack in Matte White. Built with high-quality, high-impact resistant thermoplastic for a crack-free, trouble-free service life. Easy installation, universal application, and self-grounding features make these outlets a safe and elegant choice for any location, from home offices to public areas. UL & CUL listed, flame-resistant, and designed for durability, these outlets seamlessly blend toughness with style for a secure and sleek installation.
TEKTON High-Torque Screwdriver Set, 16-piece (#0-#3,1/8-5/16 in.) DRV45002
Relying on three-sided geometry rather than the friction against your skin, the unique handles of the TEKTON High-Torque Screwdriver Set give you the leverage to generate more torque. Easy-to-read markings
Phillips head screwdriver
This is a type of screwdriver that has a cross-shaped tip.
Klein Tools 1/4 in. Cabinet-Tip Flat Head Screwdriver with 10 in. Heavy-Duty Round Shank 605-10
The Klein Tools 1/4-Inch (6 mm) Cabinet Tip Screwdriver 10-Inch (254 mm) with heavy-duty round-shank has a narrow cabinet tip that permits blade access where space is limited. It meets or exceeds applicable
Carlon 4 in. Round Blank PVC Electrical Box Cover (Case of 35) E460R-CAR
The round blank box cover is designed to cover 4 in. round switch or outlet boxes. Made of durable PVC which is non-corrosive and non-conductive. For indoor use. UL Listed.
Steps


Remove Outer Casing
10 minutesOpen the microwave door and locate the screws that secure the outer metal casing. These are typically found on the back and sides of the unit. Use a screwdriver to remove these screws and then carefully slide or lift the casing off the microwave frame.
Watch: Remove Outer Casing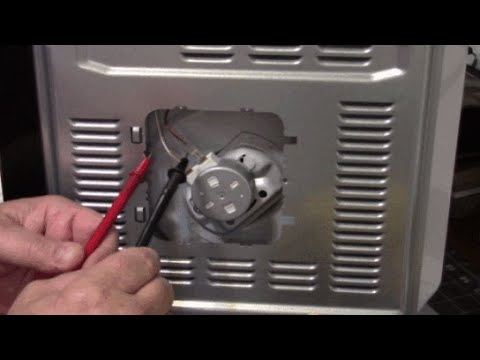
Identify Problem Area
15 minutesWith the casing removed, carefully examine all visible components, including the transformer, capacitor, magnetron, turntable motor, and control board. Look for any discoloration, scorch marks, frayed wires, or components that appear physically broken or dislodged. Pay attention to any unusual smells that may have been present when the microwave was operational.
Watch: Remove Outer Casing and Initial Visual Inspection
Test Door Interlock Switches
20 minutesThe door interlock switches are safety mechanisms that prevent the microwave from operating when the door is open. Locate these switches, typically near the door latch. Disconnect their wires and use a multimeter set to continuity mode to test each switch. A good switch will show continuity when the switch is engaged (e.g., door closed) and no continuity when disengaged (e.g., door open).
Watch: Diagnose Microwave Shuts Off Intermittently (Door Switch)Replace Faulty Component
30 minutesOnce a faulty component is identified, disconnect its wiring (labeling wires if necessary) and remove it from the microwave. Install the new component, ensuring all connections are secure and in the correct positions. Refer to your microwave's service manual for specific instructions on removing and installing components.
Watch: Replace Faulty Door Interlock Switch/Connector
Reassemble Microwave
10 minutesCarefully place the outer casing back onto the microwave frame, aligning it correctly. Reinsert and tighten all the screws that were removed in step 2 to secure the casing. Ensure all screws are snug but do not overtighten, which could strip the threads.
Watch: Reattach Microwave Casing and Review Documentation
Test Microwave Operation
5 minutesPlug the microwave into a power outlet. Open and close the door to ensure the interlock switches are engaging properly. Place a microwave-safe container with water inside and run the microwave for a short period. Listen for any unusual noises and check if it heats the water. Observe if all functions operate as expected.
Watch: Test Repaired MicrowaveCommon Problems
The microwave's capacitor can store a lethal electrical charge even after unplugging it from the wall, posing a severe shock risk if touched without proper precautions.
Solution: After unplugging the microwave and removing the outer casing, locate the large, cylindrical capacitor. Using a screwdriver with an insulated handle, carefully short out the terminals of the capacitor to discharge it. You can also use a high-value resistor connected to insulated probes for a slower discharge. Always wear insulated gloves and safety glasses during this process.
Prevention: Always assume the capacitor is charged, even if the microwave has been unplugged for a while. Educate yourself on the correct and safe method for discharging a microwave capacitor *before* you begin any internal work. Wear appropriate personal protective equipment, such as insulated gloves and safety glasses.
Screws holding the outer casing or internal components get stripped, making them difficult to remove or re-tighten, or the microwave casing gets scratched or dented during disassembly or reassembly.
Solution: If a screw is stripped, try using a screw extractor kit. For slightly stripped screw heads, placing a rubber band over the screw head before inserting the screwdriver can sometimes provide enough grip. If the casing is scratched, it's mostly cosmetic; avoid further damage by being more careful with tool placement and handling.
Prevention: Always use the correct type and size of screwdriver for each screw (e.g., Phillips head, flat head). Apply firm, downward pressure while turning slowly and steadily. Don't overtighten screws when reassembling to prevent stripping or damaging the plastic/metal.
You replace a component (e.g., a door switch or fan motor) but the microwave still doesn't work, indicating you misidentified the true problem and spent time and money unnecessarily.
Solution: Don't just guess which part is faulty. Revisit your troubleshooting steps. Use a multimeter to methodically test all suspected components like door interlock switches, thermal cutouts, internal fuses, and the capacitor (after safely discharging it). Focus on the specific symptoms to narrow down the possibilities more accurately.
Prevention: Before purchasing any replacement parts, thoroughly test all suspected components using appropriate diagnostic tools. Look for online service manuals or diagnostic guides specific to your microwave model. Don't replace parts simply because they are common failure points; confirm they are actually faulty.
After reassembling the microwave, it doesn't power on, sparks, or behaves erratically because a wire was left disconnected, reconnected to the wrong terminal, or pinched during reassembly.
Solution: Immediately unplug the microwave. Carefully re-open the casing (after safely discharging the capacitor again). Refer to any photos you took during disassembly to verify all wiring connections are secure and correct. Check for any loose or pinched wires that could cause a short circuit or prevent proper function.
Prevention: Before disconnecting any wires, take multiple clear photos of the wiring harness and each connection point from different angles. If wires have similar colors or connectors, use masking tape and a marker to label them before disconnecting to ensure correct reassembly.
The microwave either fails to start when the door is closed, or worse, starts cooking with the door open, posing a serious radiation hazard due to improperly installed or faulty door interlock switches.
Solution: Unplug the microwave immediately. Carefully remove the casing (after discharging the capacitor). Inspect the door interlock switches. Ensure they are correctly seated and click audibly when the door plunger presses or releases them. Test their continuity with a multimeter if you suspect they are faulty. Replace any damaged switches promptly.
Prevention: Understand that door interlock switches are critical safety devices. Pay extreme attention during their removal and reinstallation. Ensure they are properly aligned and that the door mechanism correctly activates and deactivates them. Always test the door function carefully (without food/water) after reassembly, but *before* putting the microwave into regular use.
You've spent a lot of time troubleshooting internal microwave components, only to realize the unit isn't receiving power due to an issue with the wall outlet or a tripped circuit breaker in your home.
Solution: Before opening the microwave, always perform basic external checks. Check if the wall outlet is working by plugging in another appliance (like a lamp). If not, check your home's circuit breaker box to see if a breaker for that outlet has tripped. Reset it if necessary. If the breaker keeps tripping, there's a larger electrical issue that needs professional attention.
Prevention: Always begin troubleshooting with the most basic and external checks. The first steps should be confirming that the microwave is securely plugged into a working electrical outlet and that the circuit breaker hasn't tripped.
Frequently Asked Questions
What are the most dangerous components in a microwave and how should I approach them?
The most dangerous components in a microwave are the high-voltage capacitor and the magnetron. The capacitor can store a lethal electrical charge even after the microwave is unplugged, and the magnetron produces microwave radiation. Due to these extreme hazards, it's strongly recommended to avoid attempting internal microwave repairs yourself and to instead contact a licensed appliance repair professional.
Can I get an electric shock even if the microwave is unplugged?
Yes, absolutely. The high-voltage capacitor inside a microwave can retain a lethal electrical charge for a long time even after the unit is unplugged. This stored energy can cause a severe or fatal electric shock. Always assume there is stored energy and never attempt to discharge it yourself.
Is there a risk of radiation exposure when repairing a microwave?
Yes, there is a risk of microwave radiation exposure if safety interlock switches are damaged, bypassed, or improperly reassembled. The magnetron generates microwave radiation, which is contained by the oven's shielding and interlocks. Any compromise to these safety features can lead to harmful radiation leakage.
The project summary mentions 'Test Door Interlock Switches.' Is this safe to do myself?
Testing or repairing door interlock switches carries significant risk. These switches are critical safety devices that prevent the microwave from operating when the door is open, thus preventing radiation leakage. Improper handling or repair can disable this safety mechanism, leading to dangerous radiation exposure. This task should only be performed by a qualified professional.
What is the recommended course of action if my microwave is not working?
Given the serious electrical and radiation hazards associated with microwave internal components, the recommended course of action is to stop using the appliance and contact a licensed appliance repair professional. They have the training, tools, and expertise to safely diagnose and repair these complex and dangerous devices.